Splash Pattern in Your Birth Chart: A Clear Guide Explained

The Mercury retrograde survival guide offers simple, practical steps to navigate communication hiccups, travel delays, and tech glitches with less stress. Back up files, add buffers, and use short confirmation messages so you can slow down and tidy loose ends instead of panicking.
Bundle in Your Chart: A Guide to What It Means for You

Mercury retrograde can feel disruptive, but this Mercury retrograde survival guide shows how to turn delays and miscommunications into useful prompts for review and refinement. With timing tips, simple rituals, and clear tech and communication checks, youll navigate retrograde periods with calm and confidence.
Stellium Explained: A Clear Guide to Your Natal Chart

When three or more planets cluster together, a stellium in natal chart becomes a spotlight on a single area of your life — magnifying talents, obsessions, and lessons. This guide explains how that concentrated energy shapes your character, where it shows up, and how to use it well.
T-Square Astrology: Understanding Its Role in Your Chart
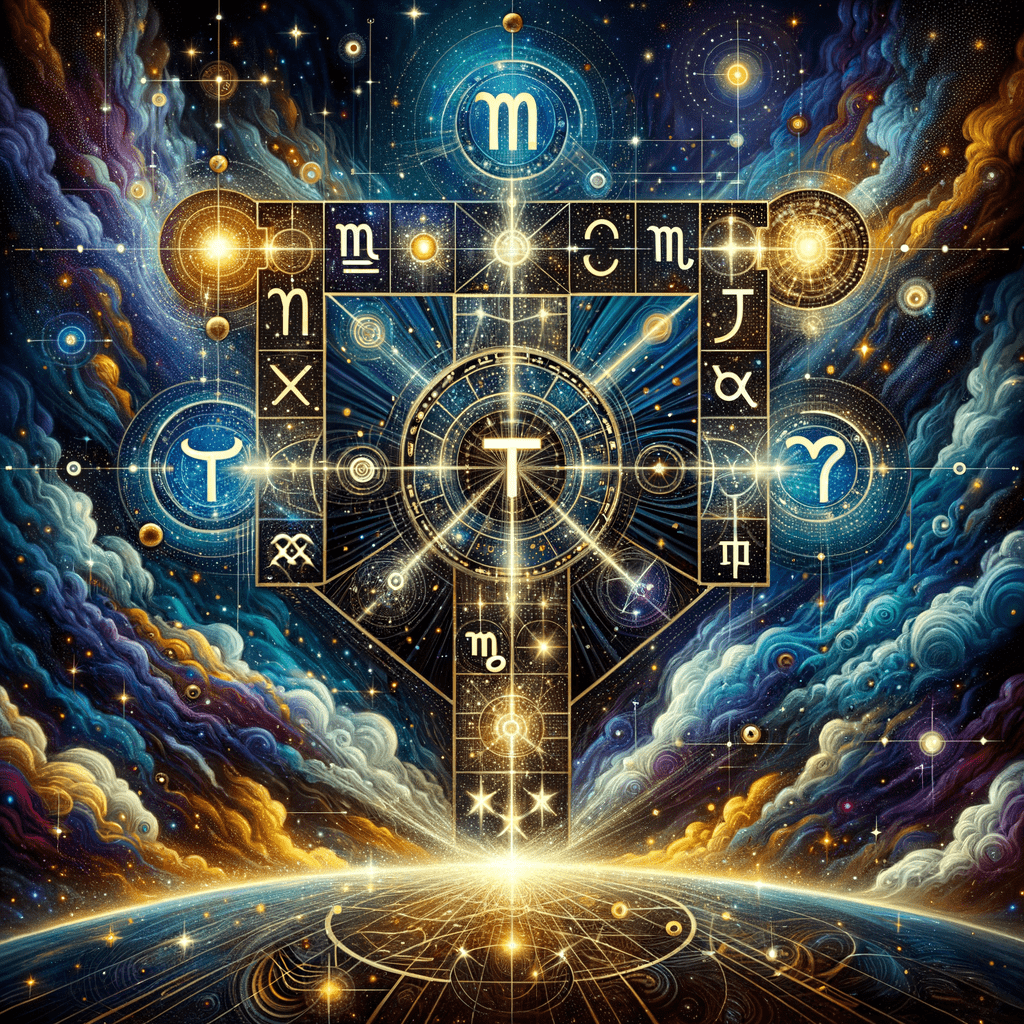
T-Square astrology shows up as a concentrated push-pull in your natal chart—two planets oppose each other and both square a third, creating pressure that can feel like constant tension or fierce drive. This article explains how that apex energy shapes personality and life events and gives practical steps to turn the tension into useful momentum.
Grand Trine Explained: A Practical Guide to Meaning

The Grand Trine meaning highlights a chart pattern where three planets about 120° apart form an easy-flowing triangle, often pointing to a natural talent or reliable resource. This practical guide shows you how to spot one, understand its strengths and hidden pitfalls, and use simple, house-level steps to turn comfortable gifts into conscious growth.
Chart Patterns: A Guide to Reading Your Natal Chart

Chart patterns map how planets group across your natal wheel, revealing core drives, talents, and the recurring themes that shape your relationships, career, and self-understanding. This friendly guide shows how those shapes form, how to read their silhouettes with step‑by‑step tips and example signatures, and offers simple exercises you can use on any birth chart.
Chart Ruler Explained: A Practical Guide to Your Chart

Find your chart ruler — the planetary home base tied to your rising sign that colors first impressions, habits, and life direction. This practical guide shows you how to locate it, read its influence on personality and relationships, and apply simple exercises in daily life.
The Vertex: The Electric Ascendant Explained in Your Chart

Think of the Vertex in your chart as a charged crossroads where chance meetings and sudden attractions can redirect your path. Read on to learn how to locate it, spot its relationship patterns, and use it as a practical tool for personal growth.
The Part of Fortune: A Guide to Meaning in Your Chart

Want to know the Part of Fortune meaning in your chart? This friendly, practical guide explains how that calculated point (from Sun, Moon and Ascendant) highlights the signs, houses, and everyday conditions where ease, resources, and real success are most likely to show up.
Karmic credits: A Guide to Meaning and Role in Charts

Karmic credits are the energetic ledger in your birth chart that highlights repeated lessons, family programming, and past-life themes—signals you can use to move from unconscious patterns to intentional growth. This guide shows which placements most often reveal them and offers clear steps to turn difficult cycles into strengths.